Main Index
In Store
Our Web Store
Miniature Schnauzer Picture Gallery
Latest Dog Blogs
- What Are The Basic Commands To Train A Dog?
- PaySafe As The Most Popular Type Of Deposit
- Everything You Need To Know About Pet Sales
- Dogs Contribute To Our Physical And Mental Well Being
- How To Choose Where To Bet On Greyhounds In 2022
- Volunteer With Animals - How To Help Dogs Around The World
- Basic Understanding Of The House Edge
- Why You Should Get A Dog
- Top 20 Popular Dog Names Around The World
- Constipation in Dogs and How to Find Solutions
5 Steps To Build A Simple Dog House
- 09/06/2017
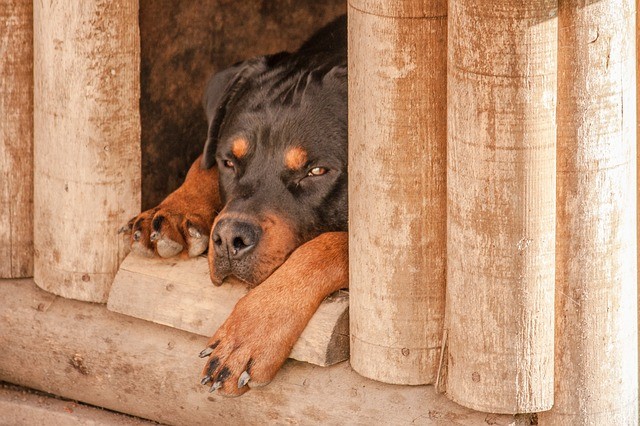
 A dog is a man’s best friend and it sure doesn’t deserve to wander around your yard looking for a shelter. So, if your dog doesn’t have its house yet, you sure should build it a nice home. Here are the simplest steps you need to take.
Get the materials
Consider using wood for the house because it’s one of the best insulators. It will keep your dog warm in the winter and cool during the summer. As far as size of the needed materials is concerned, it will depend on the size of your dog. However, for a medium-sized dog, you will need the following:
● Roof: two pieces 55x80 cm
● Bottom: two pieces 52x65 cm
● Front and back panels: lowest point 55x40 cm and highest point 68 cm
● Sides: two pieces 40x65 cm
Also, you will need four pieces of 15 cm long 5x10 cm wood for the legs which will raise the dog house from the ground. Lastly, you will need two 15x55 cm and 15x65 cm strips of plywood to surround the legs.
Print out the plan
After you have determined the size and materials for the dog house, you will need to draw up a plan. You can either draw your own plan if you are skilled enough or you can simply find a copy of a dog house you like on Sunlite Mitre 10, get detailed instructions and download your own PDF plan. You can also get split pdf online. However, when drawing up a plan, make sure to consider making the most out of one panel and be careful with the size. Bigger houses are not always better because smaller houses can help your dog feel safer.
Build the platform
Cut out the wood in the necessary dimensions and start building the base. Round up the legs and nail them to the edges of the plywood. According to your plan, build a square frame of the entire house and make sure to make it smooth. Align the frame and bottom panels and trim any overlapping edges.
Assembling the house
Once the frame and the base are screwed in tightly together and aligned, you can move on to the sides. Nail the side pieces and make sure they are stable. Then, nail the two bottom panels together and make sure the construction has a lot of structural integrity. Also, make sure that the outer panels are removable.
Roof and finishing touches
After everything has been secured, only that’s left is the roof. Simply screw the roof panels on the frame elements. If you wish, you can also nail shingles on the panels. However, this additional step will depend on your dog because most dogs like to climb up and spend some time on the roof. Shingles could get hot during the summer, so make sure to make them removable.
There you have it, the simplest possible way to provide a safe home for your best friend. So, start building.
Please Help Us
IrishDogs.ie takes a lot of time, money and hard work to produce. But we do it because we believe our perspective matters because it might well be your perspective, too.
Our future could be much more secure with your help. Please SUPPORT us by clicking on the Donate Button at the Top Right of your screen.
Quick Search
Donate
Latest Dog Pods
- Tips on How to Stop Your Dog from Biting
- Beware - Not All Advertised Dog Rescues Really Are! How Can You Know The Truth?
- Helpful Tips For Dog Obedience Problems
- How to Keep Dogs From Eating Poop
- Dog Grooming Tips - A General Overview of the Very Basics of Dog Grooming
- Recognising Different Types of Dog Obedience Problems
- 5 Important Tips On Feeding A Puppy


